How to Add Fonts to Premiere Pro for Subtitles & Captions
Follow these simple steps for downloading and adding new subtitle and caption fonts to Adobe Premiere Pro, no matter what device you’re on.

It’s odd to think about, but in many ways we are living in the golden age of font and digital typeface options. Not only do many of the most popular NLE video editing platforms have huge lists of fonts available, there are also tons and tons of font resources available online.
The best part is, many of these fonts are free, as well as highly specific, making them suitable for all types of subtitle and caption needs.
As we’ve covered before, while there are plenty of great font options that are already in Adobe Premiere Pro, there are even more diverse, specialized, and practical ones available online to download. The question then becomes: how do you find and add fonts to Premiere Pro for the best subtitles and captions?
Let’s go over some of the best online resources for finding these fonts, how to download, install, and import them, as well as any troubleshooting this process may require.
How to Add Fonts to Adobe Premiere Pro
Learn how to add fonts to your Adobe Premiere Pro videos in just a few simple steps.
1. Find and Download Your Fonts
The first step is finding the perfect aesthetic font to use for your subtitles or captions. Adobe’s built-in library should cover most of your basic font options, but if you’re looking for some more of the wilder and more charismatic subtitle and caption options, there are several great sites to check out. Here’s a short list:
Each of these sites should have hundreds, if not thousands, of fonts to browse through and choose from. Once you’ve found a good font, you should be able to download or purchase the font file, which will come in the form of a .zip file.
Pro tip: Keep in mind that you may need more than the regular or standard version of a font. If you know you’ll need to use bolding, italics, or any other styles, be sure to include them in your purchase or download.

2. Install Your New Font
Once you have your font file, the process should be pretty simple. First, make sure all of your Adobe apps are closed. Next, unzip your font file and open it. From there, you should see either just one font, or several of the different types (i.e. bold, italics, bold italics, etc.). Open each individual font type and click “install font”.
Keep reading for more specific, in-depth instructions for both Macs and PCs.
How to Install Fonts on a Mac

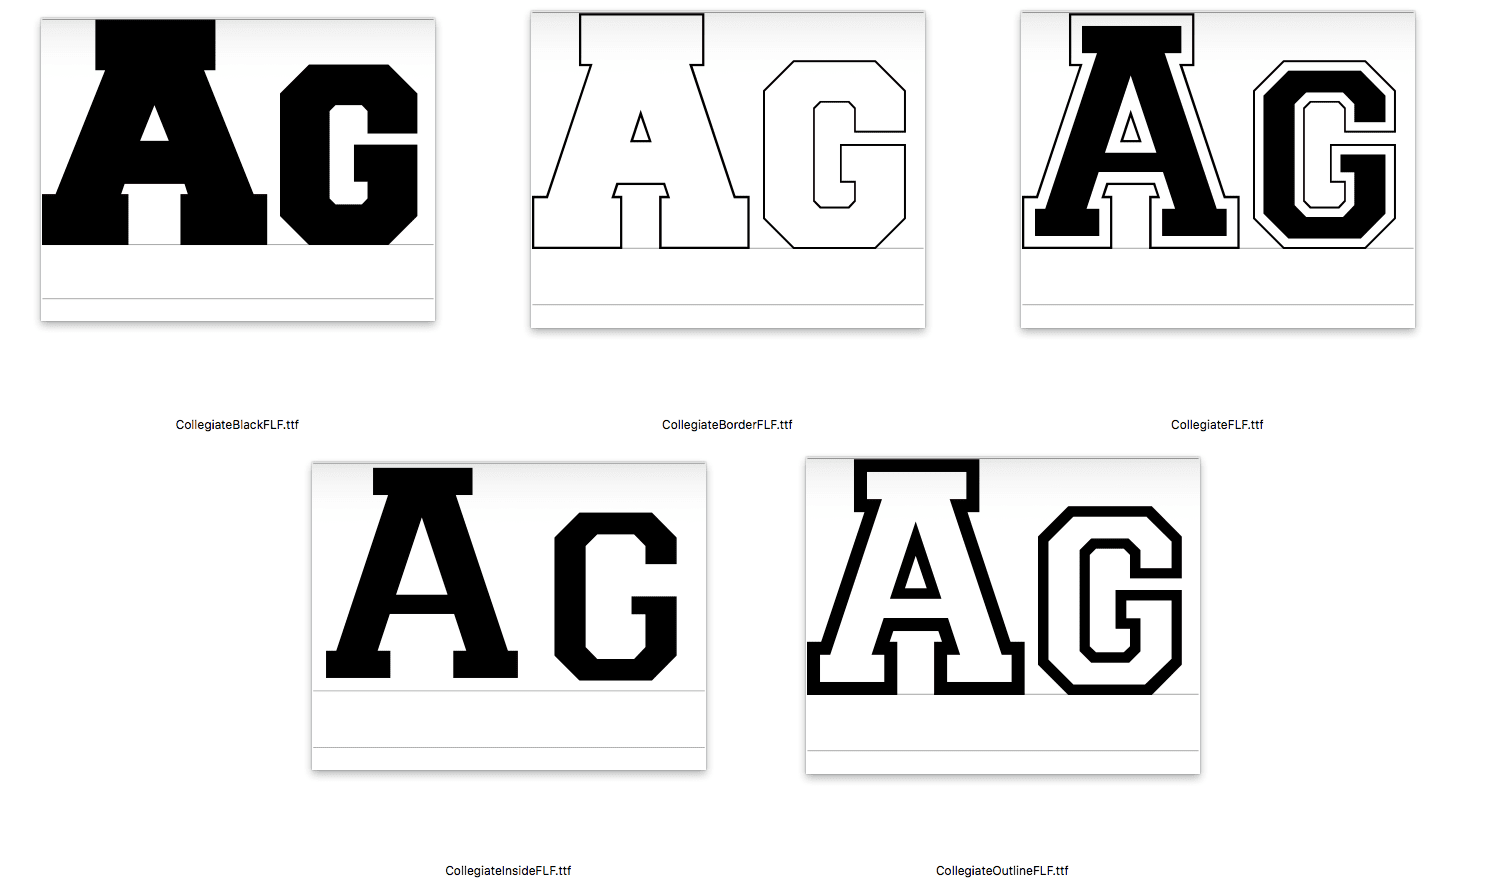
For this example, we chose a font called “Collegiate” from 1001 Free Fonts. This is a free font, so all you have to do is click the “download” button. A zipped font file will download, which, once unzipped, will look like this with the different font options.

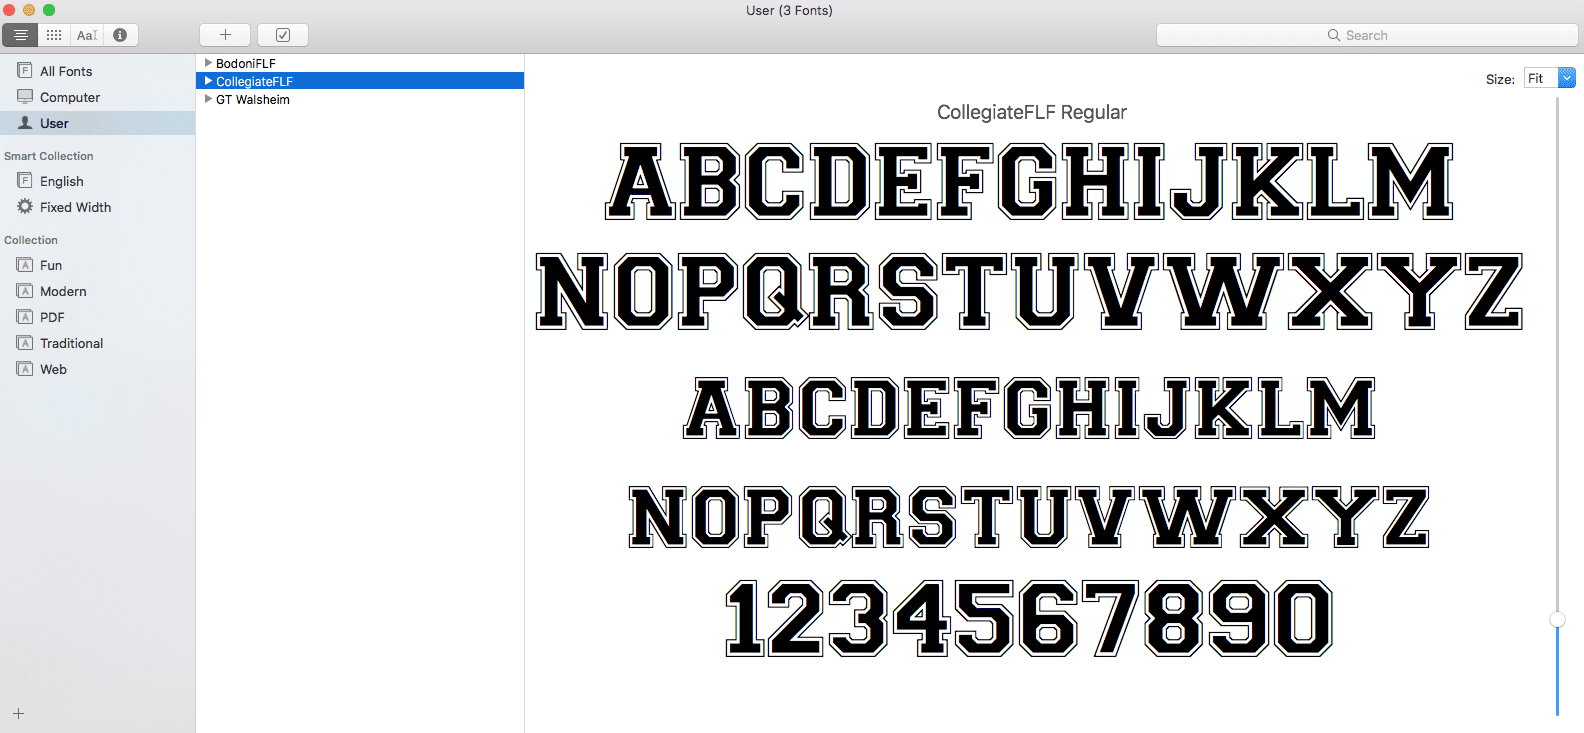
Double-click to open each of the fonts individually, which will bring up your Mac’s Font Book. From there, you just need to click the “Install Font” button.

And voila! Your font will be added to your User Profile’s Font Book. Once you’ve restarted Adobe Premiere Pro, it should be included in your font options when working with text for subtitles or captions.
How to Install Fonts on a PC
The process for PCs is actually even easier. The following process should work for Windows 7 and 8, Windows Vista, and Windows XP. Once your font has been installed, it should show up with the rest of your default fonts in Premiere Pro and the rest of your Adobe apps.

3. Troubleshoot your Font Types
The majority of issues you might face when installing fonts in Premiere Pro can usually be solved by closing and reopening Premiere Pro. Make sure to save any open projects and that the application is completely exited and closed. On the off chance of there still being any issues, try restarting your computer and OS completely as well for a full reset.
The latest versions of Adobe Premiere Pro (and even many of the legacy versions still available) should have no problem working with most “OTF” (Opentype) and Truetype fonts, which are the majority types of fonts available on most sites.
If you still have any issues uploading any font types, you can read up more on Adobe’s website. (Or for specific issues check out their forum.)
Get Your Videos Captioned With Rev
Rev offers an easy and efficient solution for captioning videos or subtitling videos. Upload your video file or paste a video URL and Rev will have a caption file back to you within 24 hours. Also, read Rev’s guide on how to add captions and subtitles in Adobe Premiere Pro.
Subscribe to The Rev Blog
Sign up to get Rev content delivered straight to your inbox.


