Home
How-to Guides
How to Transcribe with the Microsoft Word & 365 Transcription Feature

How to Transcribe with the Microsoft Word & 365 Transcription Feature

table of contents
Hungry For More?

Luckily for you, we deliver. Subscribe to our blog today.

Thank You for Subscribing!

A confirmation email is on it’s way to your inbox.

Share this post

Office 365 subscribers who use Microsoft Word for the web, will now have a transcription option. The new feature allows you to transcribe recorded audio and video files, as well as live meetings, in the web version of Word. 

Interested in giving it a try? Here’s a step-by-step guide on how to use Transcribe in Word. Additionally, find out how it stacks up to the competition. 

Step 1: Activate transcription feature

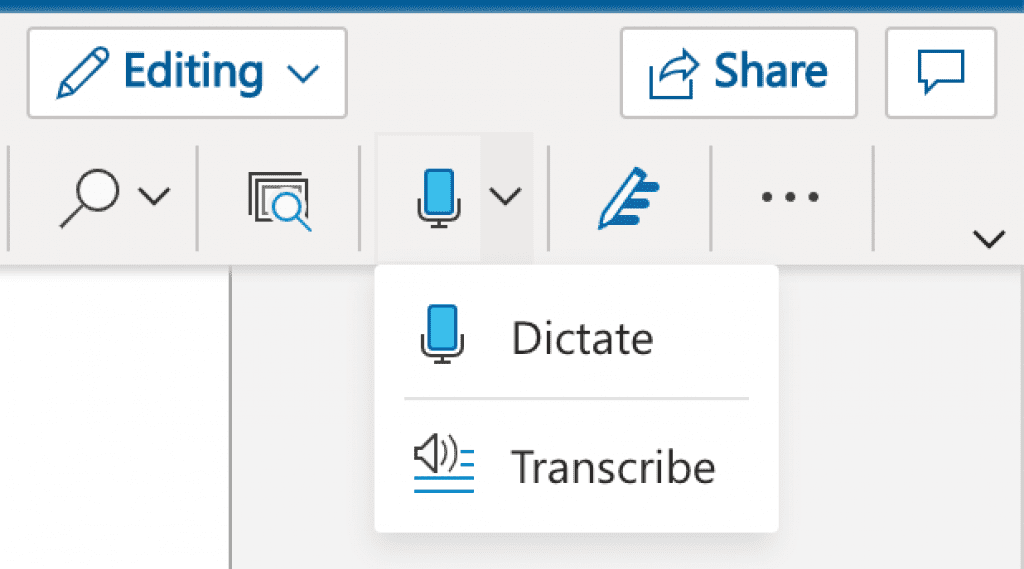
To activate the transcription feature in Microsoft Word, click the arrow next to the blue microphone. It’s on the right-hand side of the main toolbar. 

When the dropdown menu appears, select “transcribe.” 
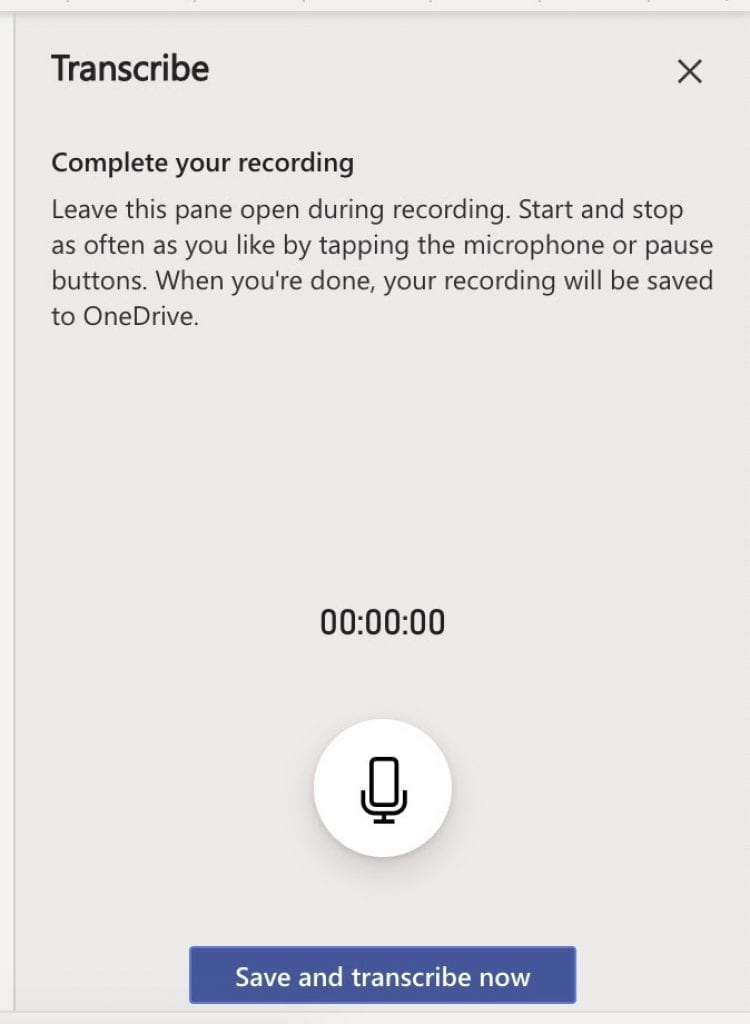
This will open the transcribe pane.

Step 2: Upload recorded audio or start a new recording 

Microsoft Word allows you to upload and transcribe .mp4, .m4a, .mp3, or .wav files. When you click on “upload file,” a screen will appear allowing you to select an audio file from your computer. 

On the other hand, if you want to transcribe a meeting in real-time, click “start recording.” Microsoft Word will then begin to record and distinguish between the speakers. 

If you need to take a break but don’t want to end the recording, click the pause button.

When you’re ready to start up again, click the microphone button.

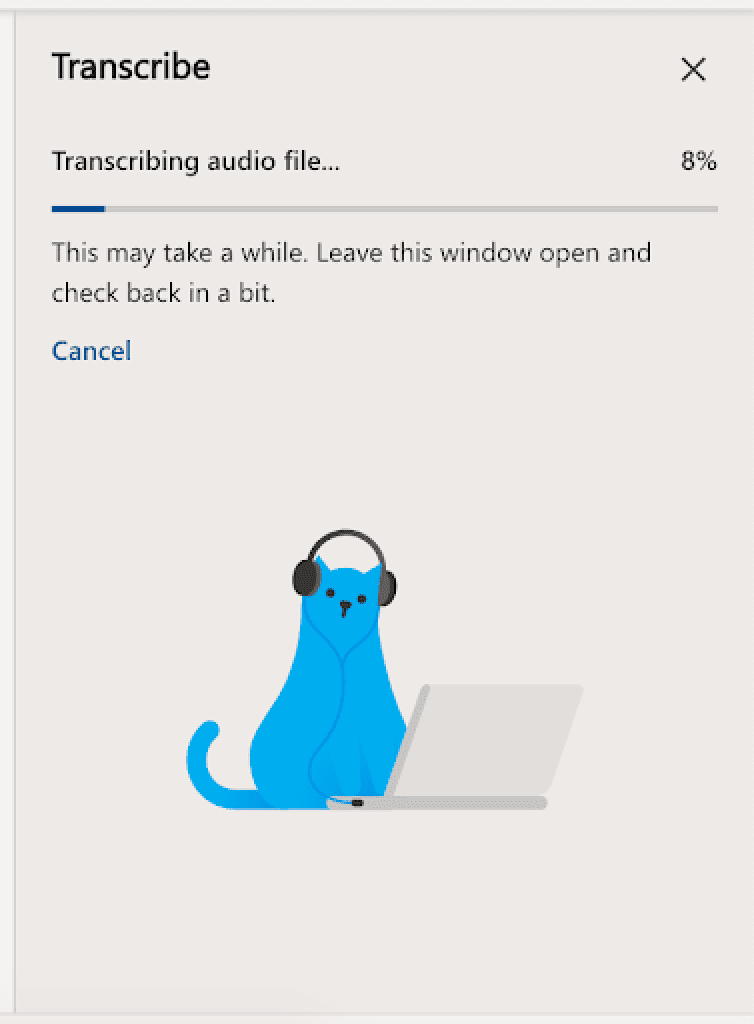
Once your meeting is over or your uploaded audio is ready, select “save and transcribe.” This will save the recording to the transcribed files folder in OneDrive and begin the transcription. 

Step 3: Edit the transcription 

Once Word has transcribed your audio, it will give you an editable record of the conversation. It won’t be perfect and you will find errors. 

To help you clean up the file, Microsoft allows you to access the full recording and time-stamped clips from each speaker. 

You can play, pause, and adjust the playback speed of the recording using the controls in the transcribe pane. To listen to one of the clips, click on the timestamp. 

If you come across an error, you can edit the transcription by clicking the pencil icon next to the section you want to change. Once you click it, a cursor will appear in the text and you can make changes. 

When you finish, click the checkmark to save your corrections. If you don’t want to make any changes, click the “X” button to cancel.

Step 4: Import the transcription

Once you’re done editing, you can import either the entire transcription, or individual sentences, into your Word document. 

To import the full transcript, click “add all to document.” If you want to import a single quote, click the plus sign that appears when you hover over a section of the transcript. 

After you import the transcription, you can share the Word document as normal, allowing others to access it. 

The new feature is pretty simple and straight-forward but it’s only available to Microsoft 365 subscribers. And it wasn’t the only feature recently released. Enhanced voice commands in Word also came out to simplify the process of dictating and editing your documents. The new commands allow you to bold sentences, delete words, and more using your voice. 

But how does the transcription service stack up to the competition?

Microsoft Transcription Isn’t the Best Out There

If you’re a subscriber, Microsoft’s 365 transcription feature can help you transcribe audio, but its accuracy falls short. Users will see an average word error rate (WER) of 16.51%. While better than Amazon’s speech recognition technology with an 18.42% WER, it falls behind Rev.com’s automatic (AI generated) transcription service offering a 14.22% WER.  Microsoft also doesn’t offer support if you’d prefer to skip the transcript editing altogether, such as Rev.com’s 99% accurate human transcription option.

Rev’s 50,000 human transcriptionists actually train the speech recognition engine to be the best in the world, and no other transcription service or company has that kind of training process. Rev AI, Rev’s speech recognition transcription service, and Zoom Live Captioning service all run off Rev’s world-class speech to text artificial intelligence.

For transcriptions with world-leading accuracy, beating Google, Microsoft, and Amazon speech recognition technology, browse Rev.com’s full suite of transcription services. 


Subscribe to the Rev Blog

Lectus donec nisi placerat suscipit tellus pellentesque turpis amet.

Share this post

Subscribe to The Rev Blog

Sign up to get Rev content delivered straight to your inbox.

General

How to Transcribe with the Microsoft Word & 365 Transcription Feature

Office 365 subscribers who use Microsoft Word for the web, will now have a transcription option. The new feature allows you to transcribe recorded audio and video files, as well as live meetings, in the web version of Word. 

Interested in giving it a try? Here’s a step-by-step guide on how to use Transcribe in Word. Additionally, find out how it stacks up to the competition. 

Step 1: Activate transcription feature

To activate the transcription feature in Microsoft Word, click the arrow next to the blue microphone. It’s on the right-hand side of the main toolbar. 

When the dropdown menu appears, select “transcribe.” 

This will open the transcribe pane.

Step 2: Upload recorded audio or start a new recording 

Microsoft Word allows you to upload and transcribe .mp4, .m4a, .mp3, or .wav files. When you click on “upload file,” a screen will appear allowing you to select an audio file from your computer. 

On the other hand, if you want to transcribe a meeting in real-time, click “start recording.” Microsoft Word will then begin to record and distinguish between the speakers. 
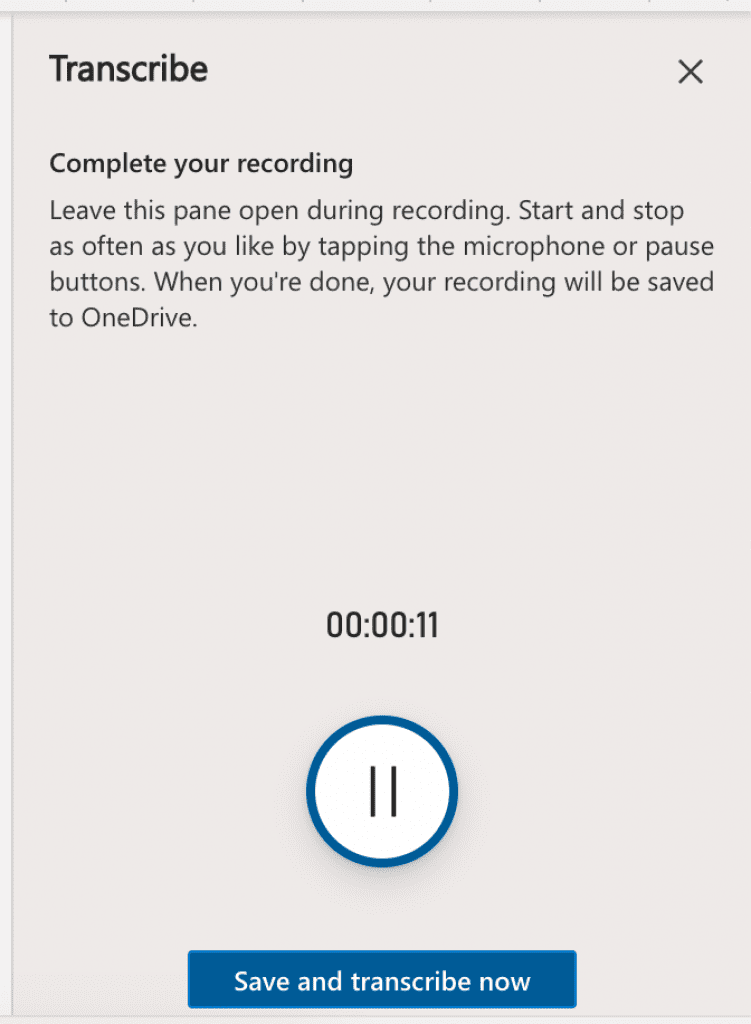
If you need to take a break but don’t want to end the recording, click the pause button.

When you’re ready to start up again, click the microphone button.
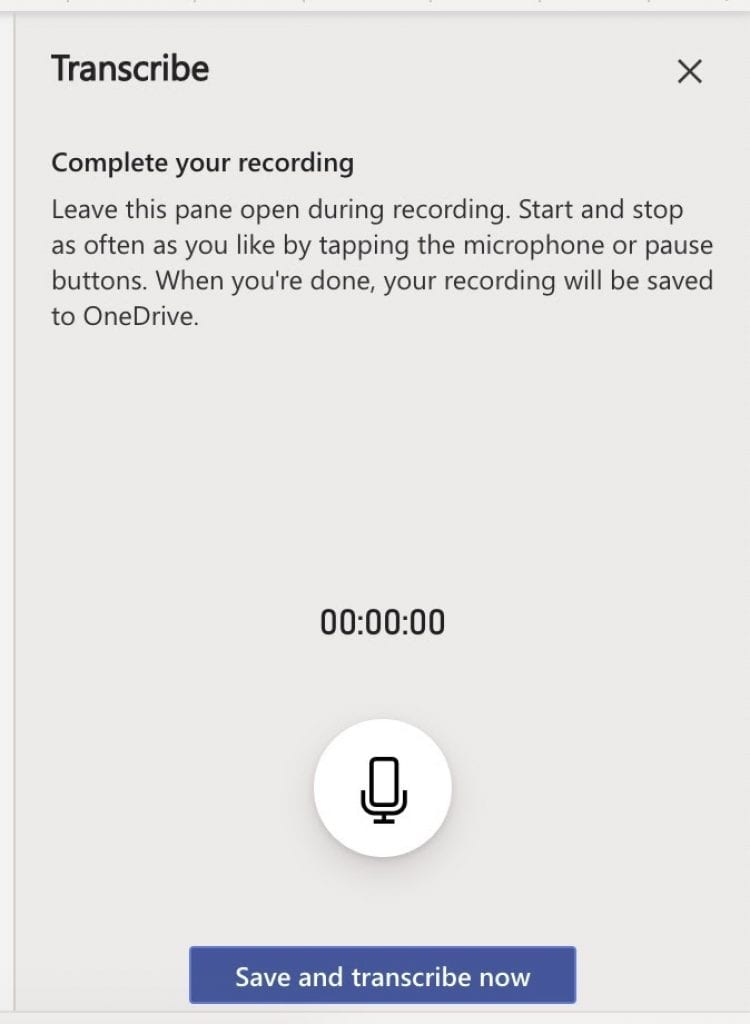
Once your meeting is over or your uploaded audio is ready, select “save and transcribe.” This will save the recording to the transcribed files folder in OneDrive and begin the transcription. 
Step 3: Edit the transcription 

Once Word has transcribed your audio, it will give you an editable record of the conversation. It won’t be perfect and you will find errors. 

To help you clean up the file, Microsoft allows you to access the full recording and time-stamped clips from each speaker. 

You can play, pause, and adjust the playback speed of the recording using the controls in the transcribe pane. To listen to one of the clips, click on the timestamp. 
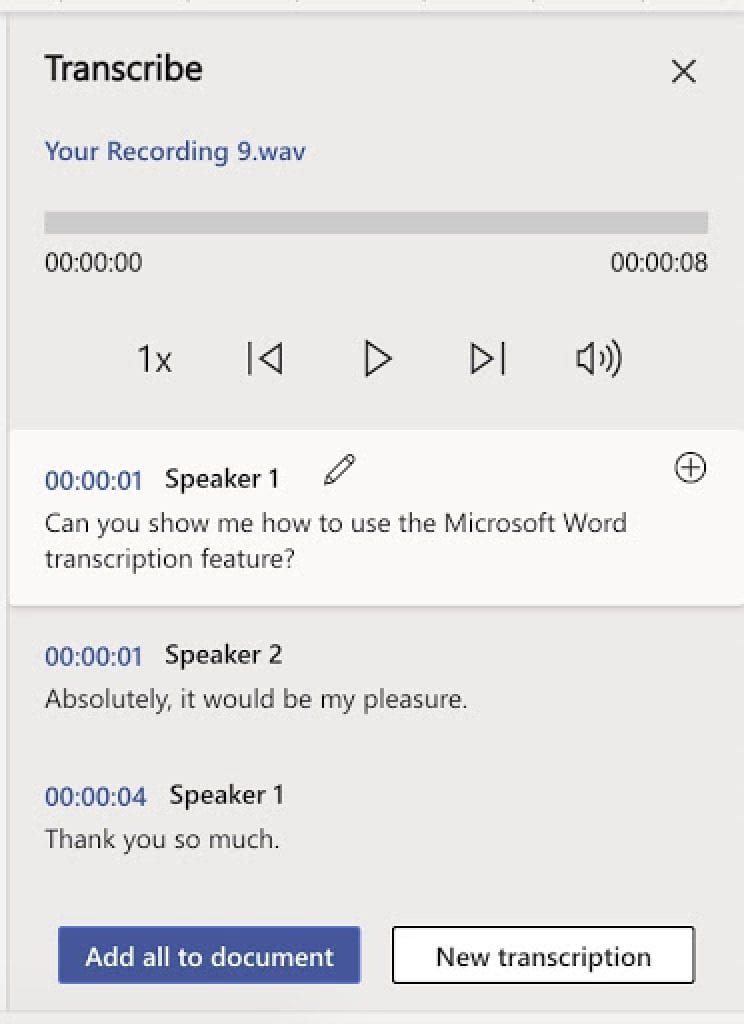
If you come across an error, you can edit the transcription by clicking the pencil icon next to the section you want to change. Once you click it, a cursor will appear in the text and you can make changes. 

When you finish, click the checkmark to save your corrections. If you don’t want to make any changes, click the “X” button to cancel.

Step 4: Import the transcription

Once you’re done editing, you can import either the entire transcription, or individual sentences, into your Word document. 

To import the full transcript, click “add all to document.” If you want to import a single quote, click the plus sign that appears when you hover over a section of the transcript. 
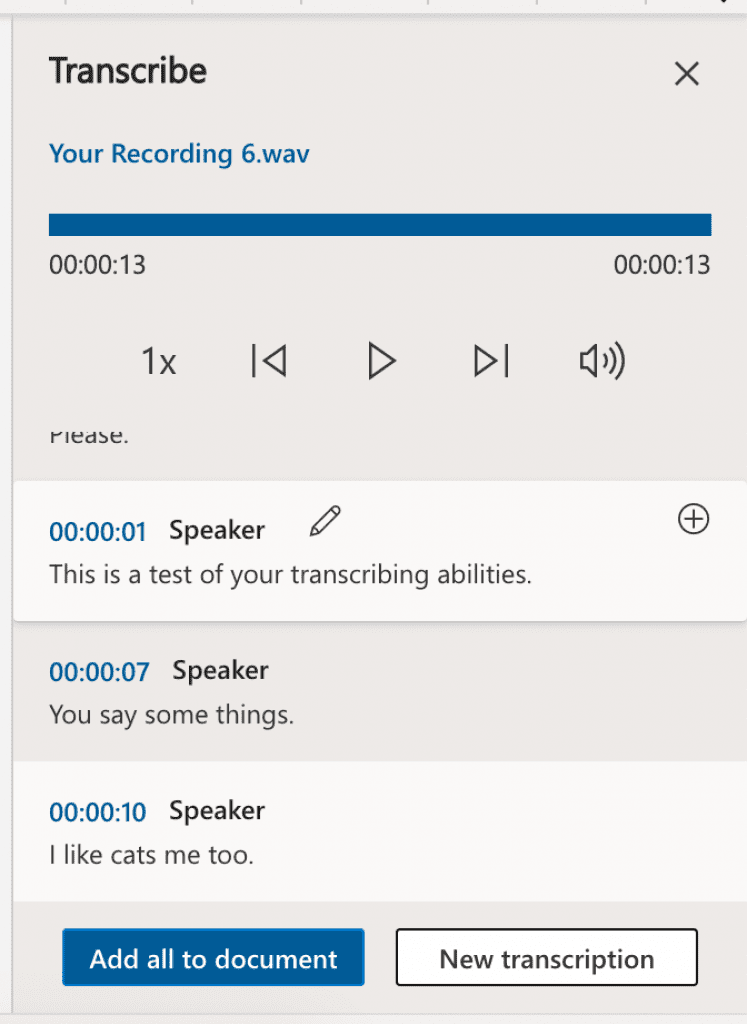
After you import the transcription, you can share the Word document as normal, allowing others to access it. 

The new feature is pretty simple and straight-forward but it’s only available to Microsoft 365 subscribers. And it wasn’t the only feature recently released. Enhanced voice commands in Word also came out to simplify the process of dictating and editing your documents. The new commands allow you to bold sentences, delete words, and more using your voice. 

But how does the transcription service stack up to the competition?

Microsoft Transcription Isn’t the Best Out There

If you’re a subscriber, Microsoft’s 365 transcription feature can help you transcribe audio, but its accuracy falls short. Users will see an average word error rate (WER) of 16.51%. While better than Amazon’s speech recognition technology with an 18.42% WER, it falls behind Rev.com’s automatic (AI generated) transcription service offering a 14.22% WER.  Microsoft also doesn’t offer support if you’d prefer to skip the transcript editing altogether, such as Rev.com’s 99% accurate human transcription option.

Rev’s 50,000 human transcriptionists actually train the speech recognition engine to be the best in the world, and no other transcription service or company has that kind of training process. Rev AI, Rev’s speech recognition transcription service, and Zoom Live Captioning service all run off Rev’s world-class speech to text artificial intelligence.

For transcriptions with world-leading accuracy, beating Google, Microsoft, and Amazon speech recognition technology, browse Rev.com’s full suite of transcription services. 


The event's speakers are:

No items found.