Skype Transcription: How to Transcribe Skype and Skype for Business Calls
If you’ve been using video conferencing as a way to stay in touch with friends or colleagues from home, you may have found the experience isn’t at all like being in the same room. On group calls each participant’s surroundings offer new distractions, so it’s all too easy to miss details as the conversation passes back and forth.
That’s why it’s super helpful that on video conferencing apps, like Skype, you can record your conversations in real time and refer back to them when you need to.
Having recordings of video calls can be useful for more than future reference, though. Since video is increasingly popular for internet consumers, adding video to your website or content marketing can boost your views. You can use Skype conversations to interview sources or get comments from industry experts, and post the video as part of your online content.
Here’s how you can record your Skype meeting for future use.
How to Transcribe Your Skype Meeting Recordings
Transcribing Skype calls is a great way to boost call accessibility and can serve as a replacement for meeting notes. It also makes it easy to quote, share or save conversations in a smaller format.
You can transcribe your Skype call yourself if you’re up to the task, but you can also outsource the task to save yourself hours of work. Services like Rev, for instance, offer Skype transcription. Rev offers to transcribe the recording with 99% accuracy within a few hours of its submission.
1. Record Your Skype Call
You might have already done this, but if not, scroll further down in this article and we have instructions on how to record your Skype calls.
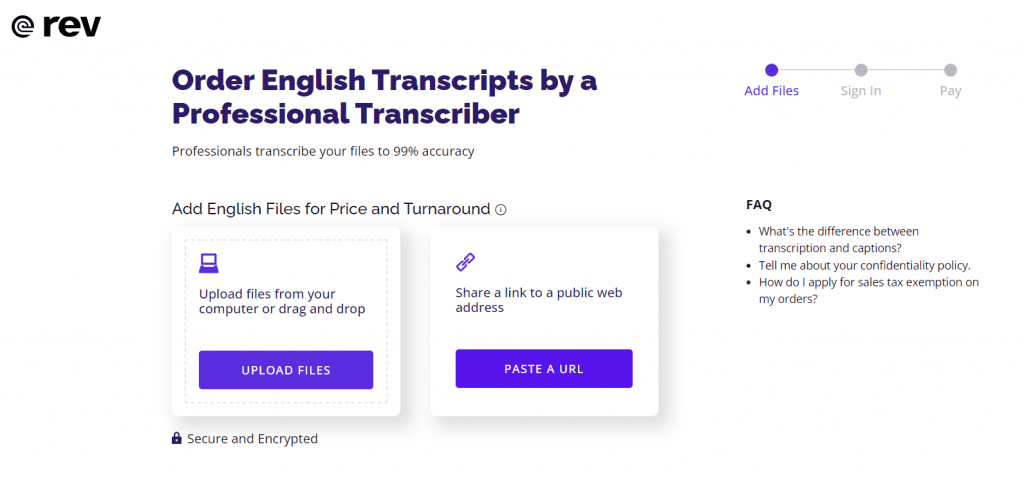
3. Upload your audio or video file by browsing to the file on your computer, dragging it to the ‘Upload Files’ box, or pasting a link to the file

4. Next is a checkout screen with the recording length and estimated delivery time
At this point, you can upload more files or select options for your transcription order.

If you need a quicker turnaround, you can choose ‘Rush My Order’ or ‘Instant First Draft’ to address your needs.
5. Once you’ve made your selections, click ‘Checkout’ to enter your payment information and complete your order
At this point, you can also provide a glossary of words or names to aid the transcriptionist while they work on your order.
Having a transcription of your video means you can skim through to find important points, easily capture statistics quoted in the conversation, and, if you’re posting the video online, can help your its viewers to understand the video’s contents better.
How to Record Skype Calls
Skype offers recording on both its free and Skype for Business account levels, as long as the participants are all using the app. The call recording will show all the screens combined, including your own, and will even capture the view of a participant’s shared desktop during the meeting.
Along with audio and video, the Skype for Business version will also capture instant messaging (IM), PowerPoint slides, whiteboard activity, and polling that happens during the meeting.

The recording won’t clog up the memory on your device – the video is shared in cloud-based storage for up to 30 days, during which you can decide to download it locally.
How to record a video on Skype
Using the free account, you can record a Skype call once it’s in progress by clicking three horizontal dots to access the options menu. On the desktop version, you’ll see the words “Start Recording” – simply click those to begin saving your conversation. The mobile version also includes a large dot surrounded by a circle that denotes a record button. Tap on it to start recording. A notification will appear to all users that the chat is being recorded.
On the Skype for Business account, you can see an in-depth guide on recording a Skype for Business call or meeting here.
Accessing your recording
The recording ends once you’ve left the call and is posted to your chat. Access the recording in the “More Options” menu on the desktop app. Save it to your downloads folder or click “Save As” to save it where you like. On the mobile app, tap and hold on the call recording to save it to your device’s camera roll.
Manage your Skype recording
From the chat options menu, you can choose to forward your Skype call recording to another chat, or to remove or report it.
How to record a video on Skype for Business
In Skype for Business recording, you can access the recording feature by clicking on the “More Options” button, then clicking “Start Recording”. The recording will start right away. At the bottom of the meeting panel you’ll see controls you can use to pause, resume, or stop the recording. You’ll also get to see who else is recording by holding your cursor over the red recording button.
Accessing your recording
Once your video is all processed, Skype for Business will send you a notification. Click on “Tools,” then “Recording Manager.” Here you can select your recording, and play, rename, or delete it. You can also copy your file to post elsewhere.
How to get the most out of Skype calls
Now that you understand how and why you should record your Skype calls, you’ll be able to get the most out of each virtual meeting and hangout you organize on the app. Use the video along with its transcription to bring new consumers to your online content and make your website more accessible to all users.
Subscribe to The Rev Blog
Sign up to get Rev content delivered straight to your inbox.


