Location Scouting Can Make or Break Your Interview
You see it a lot on the local news: A talking head in a bland office with terrible fluorescent lighting, sometimes even backlit by a bright window. The

You see it a lot on the local news: A talking head in a bland office with terrible fluorescent lighting, sometimes even backlit by a bright window. The worst possible setting for an interview.
The bright side? This type of setting does illustrate how important setting can be to an interview’s success. In a single image, they show why location scouting is so important, if you have the luxury.
Why You Need To Scout Locations
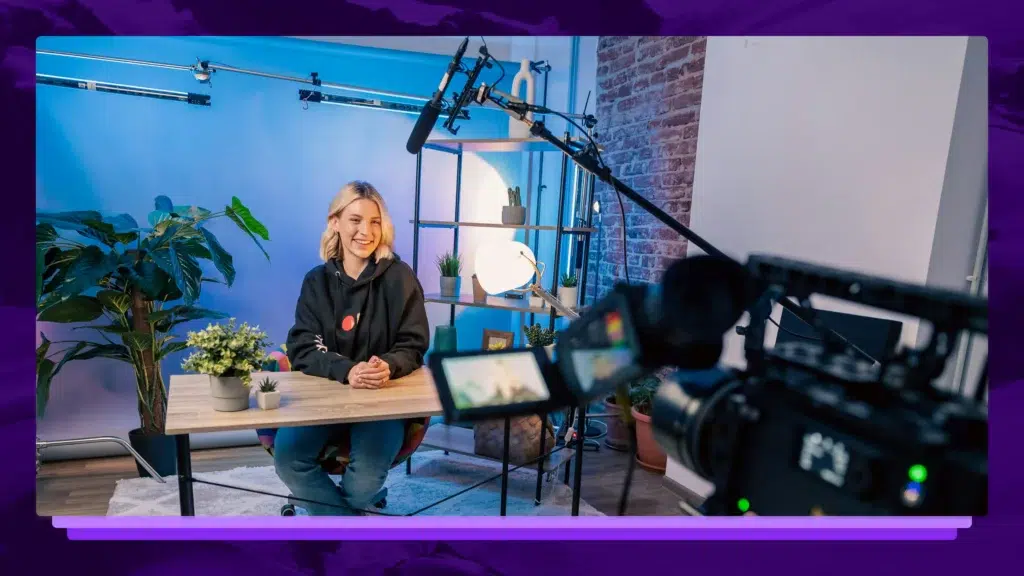
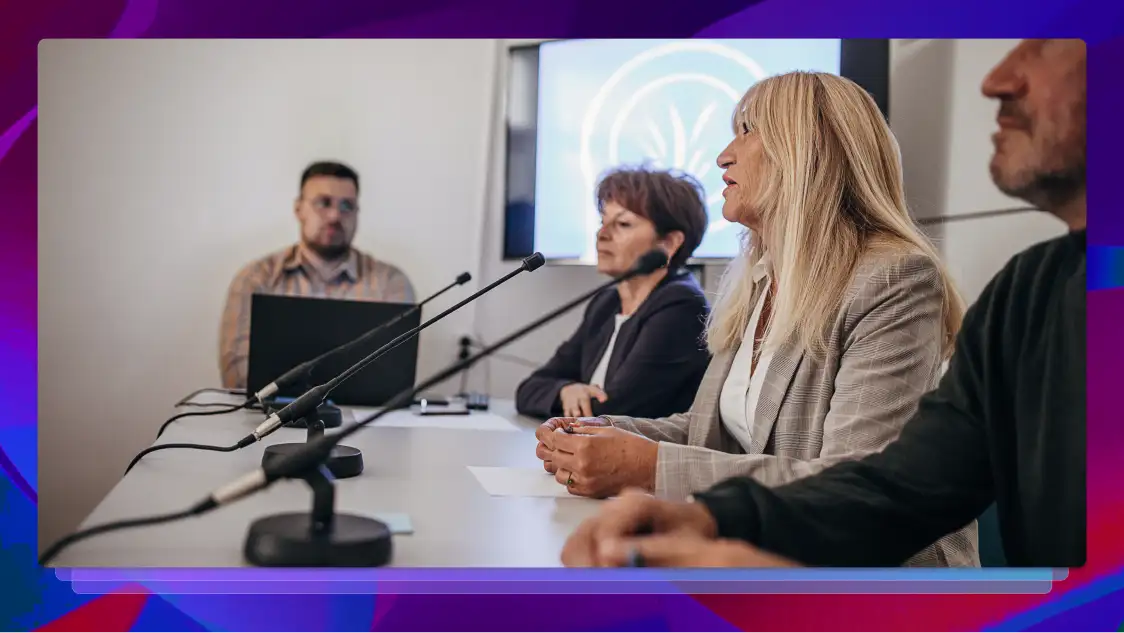
A boring setting doesn’t always make for a boring interview, but it never helps. You need to scout locations for a number of reasons, but the primary reason is to make your interview look and sound great. Ideally, you can pair your subject with the setting; a farmer on a farm, a scientist in a working lab, etc. No one likes watching a person talk in a meeting room or behind a desk, so if you must shoot in a predetermined, less than ideal setting, you can still use these tips to find another option in the same building!
Scouting might be more important for vetting the scene than for actually finding it. The greatest setting in the world can easily be ruined if you didn’t realize it was next to a busy airport, for instance. Or maybe the majestic outdoor scene is regularly disrupted by pedestrian traffic. Or if there aren’t enough electrical outlets for your equipment.
The list of things that can go wrong is endless, so make sure your scouting is thorough. Here are a few tangible things to consider:
- Depth of field: You don’t want your subject flat against a background. You want a deep, interesting but not too interesting scene behind them.
- Lighting: If you’re not bringing your own lights, natural light either directly or from a large window is the best. Overhead lighting, especially fluorescents, will create harsh, unflattering shadows.
- Room to move: It’s not always possible, but the ability to shoot from multiple angles is extremely valuable when editing your final product. Being able to move your talent around a room is a bonus as well.
- Audio and visual distractions: Big distractions like trains outside or people walking past the windows are obvious, but pay special attention to little, more unnoticeable issues like ambient appliance sounds, digital clocks in the background, and other background noise. Here are some tips for improving your audio quality.
Remember, the more in-depth your pre-work, the more problems you can anticipate and troubleshoot.
Peerspace for the Win
Simply renting a nice house or apartment or event can solve all of your location problems, and Peerspace and similar services can be life savers. For a (usually) relatively low cost, you can find a number of possible settings all at one location. Conduct half the interview in a tasteful study and half of it in a traditional studio, for instance. All listings have plenty of location photos, so it’s easy to narrow down ideas and find the perfect setting that isn’t a beige wall behind a conference room table. An added bonus is that if your budget allows for extra days, you have your gear set up far in advance, so there’s less scrambling on the day. Regardless, most Peerspace hosts will allow you to come scout their location for free!
Another reason I love Peerspace is that it includes spots made specifically for photo and video shoots. Many are already set up for light and sound, so you can eliminate a lot of hassle.
If you can’t find anything on Peerspace that meets your needs (or is available on the days you need to shoot), VRBO and AirBnB are great options. Many times you can find homes that have multiple rooms you can use for extra depth of field or a variety of set options.
No matter what you find on the internet, though, physical scouting is still ideal. You never know what surprises you’ll discover otherwise.
A pro tip is to look for options that have natural lighting (aka windows) you can use as a light source. They provide a great option without harsh shadows (during non-sunny times of day), artificial lights, or a need for as many electrical outlets.
A Sound Investment
For on-camera interviews, we tend to think visuals first when scouting locations, but sound is equally important. When you’re vetting potential sites, take your sound tech if budget allows. Having the tech do a dry-run can eliminate a pile of potential audio atrocities. If that’s not possible, record some audio with your phone, just to see if it picks up anything your ear might miss. Stick around the location for as long as possible to see if there are regular sound issues. Planes overhead, trains, garbage trucks, noisy neighbors, barking dogs. You never want to accidentally have your small sample size be the one quiet stretch of the day, so linger as much as you can!
Venture Outside
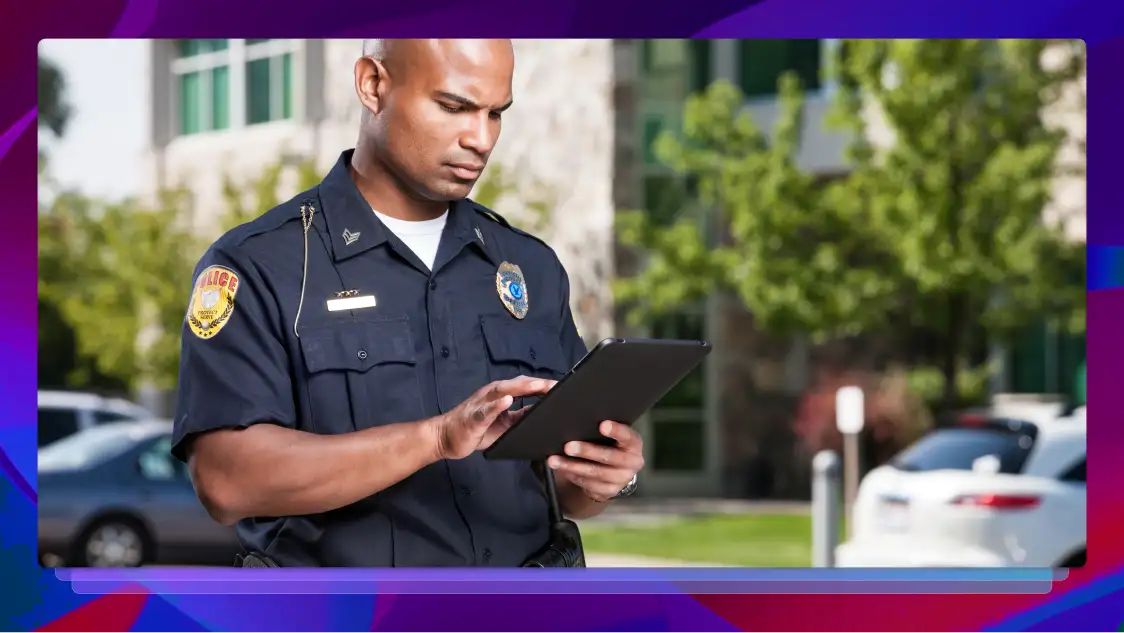
If you cannot find a suitable indoor option, or if you’re at a conference that doesn’t provide a distraction-free environment, don’t be afraid to go outdoors. The degree of difficulty takes a massive leap, but the payoff can be worth it.
For example, one shoot we had many difficulties with upon on-site arrival ended up being one of the most successful! We didn’t have the luxury of scouting ahead of time, and on site we decided we needed to move outside due to a lack of noise-free indoor options. We needed to monitor the edges of the frame for foot traffic, but the outcome was one of the most successful from my time at Rev.
Visual interest, great acoustic and limited variables are three things that can influence an interviews success. Don’t leave them to chance!
Subscribe to The Rev Blog
Sign up to get Rev content delivered straight to your inbox.


