How to Transcribe Zoom Recordings & Meetings
The crowded video conferencing market includes almost 200 web conferencing software tools. Zoom has emerged as a leader among them for meetings, webinars, and conference calls. Recording your Zoom meetings lets participants focus on the conversation rather than note taking. Then after the meeting, you can either send a recap recording or transcript to attendees. You can also use recorded meetings as official documentation.
After you have recorded your Zoom meeting, you’re ready to order a professional transcript. Transcripts are an excellent substitute for note taking. Take a look at the step-by-step process using Rev:
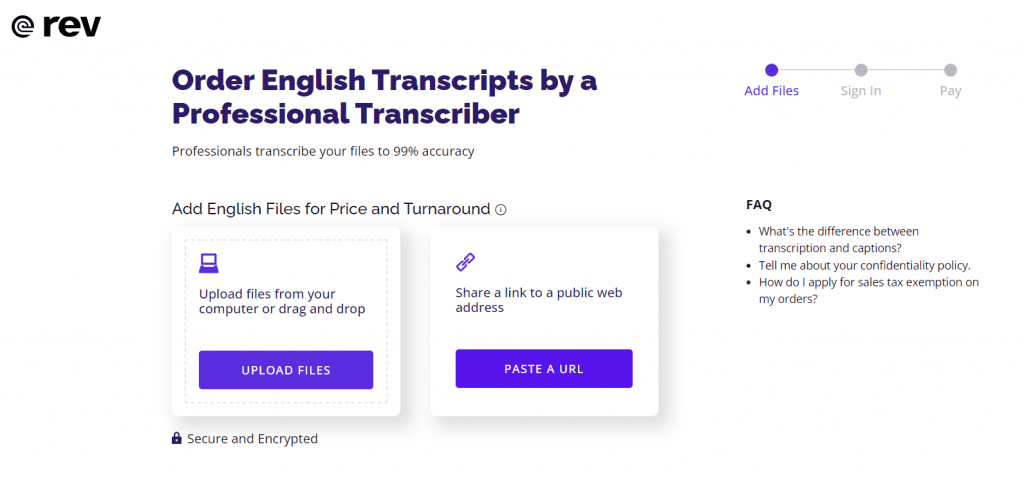
1. Using Your Web Browser, Go To Rev and Click ‘Get Started’
Go to Rev for the highest quality Zoom transcription product. It’s an inexpensive way for professional transcriptionists to give you 99% accurate transcripts, guaranteed.
Rev also offers live transcripts of Zoom meetings through the Rev Zoom integration. Try it now and get live transcripts through the most accurate speech recognition engine in the world.
2. Upload Your Zoom Audio or Video Recording
You can do this by browsing to the file on your computer, dragging it to the ‘Upload Files’ box, or pasting a Zoom cloud recording link.

Pro Tip: Rev allows you to use the “Paste a URL” button and paste a Zoom Cloud Recording URL to get your Zoom recordings transcribed.
3. Upload More Files or Select Options for Your Transcription Order
On the checkout screen, you'll see the recording length and estimated delivery time. Here is where you can upload more files, or add additional options to your order.

If you need a quicker turnaround, you can choose ‘Rush My Order’ or ‘Instant First Draft’ to address your needs. If it’s important to have the most accurate transcript faster, then you may want to rush your order. But if you only need a rough draft to get started, then the instant machine-generated transcript might be all you need.
The ‘Timestamping’ option can be useful if your recording is long or you have many speakers. Having paragraphs timestamped allows you to quickly find and reference sections of the recording or keep your place as you’re reviewing.
Often, you won’t need a verbatim transcription. But there are some circumstances, such as legal transcription or quoted interviews, where you’d need to include nonverbal communication or filler words for clarity and precision.
4. Click ‘Checkout’ to Complete Your Order
Once you’ve made your selections, enter your payment information to finish your order.
Reviewing Your Completed Transcript
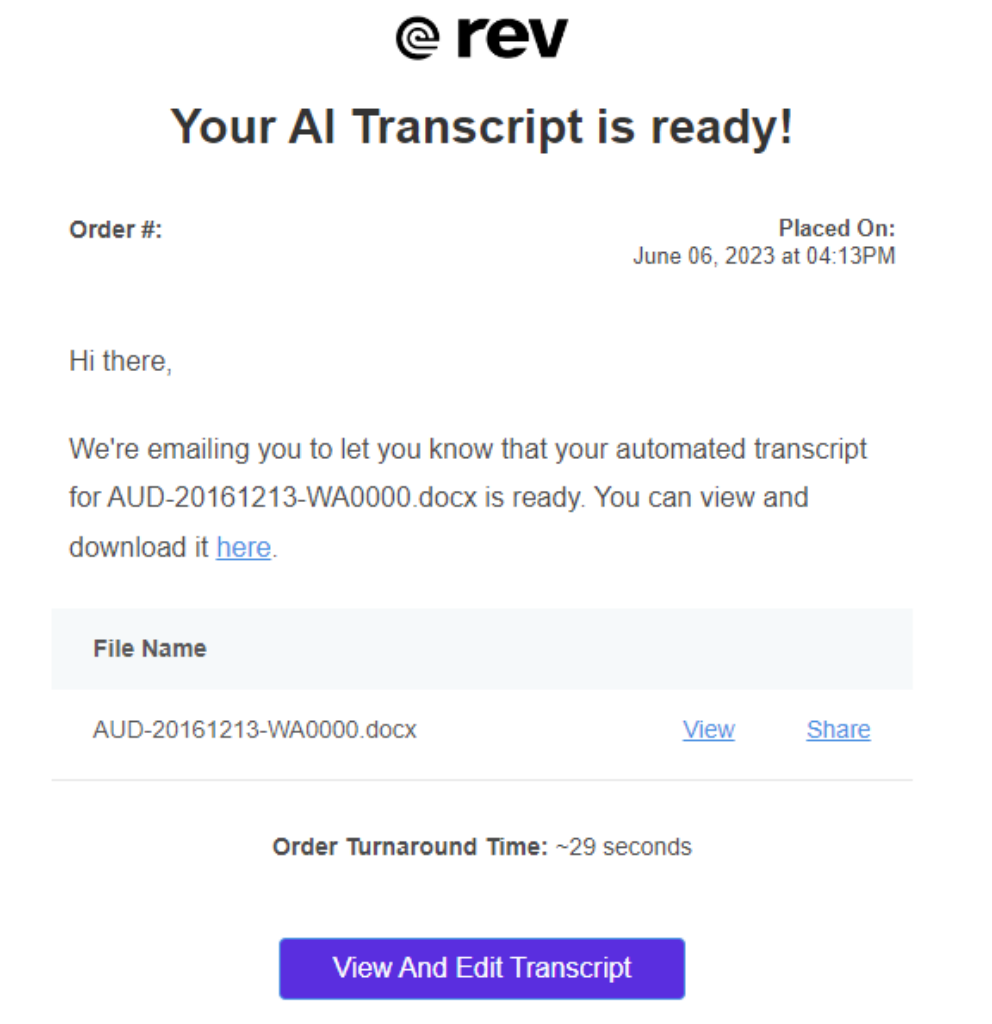
When your transcript is finished, you’ll receive an email letting you know it’s ready for review.

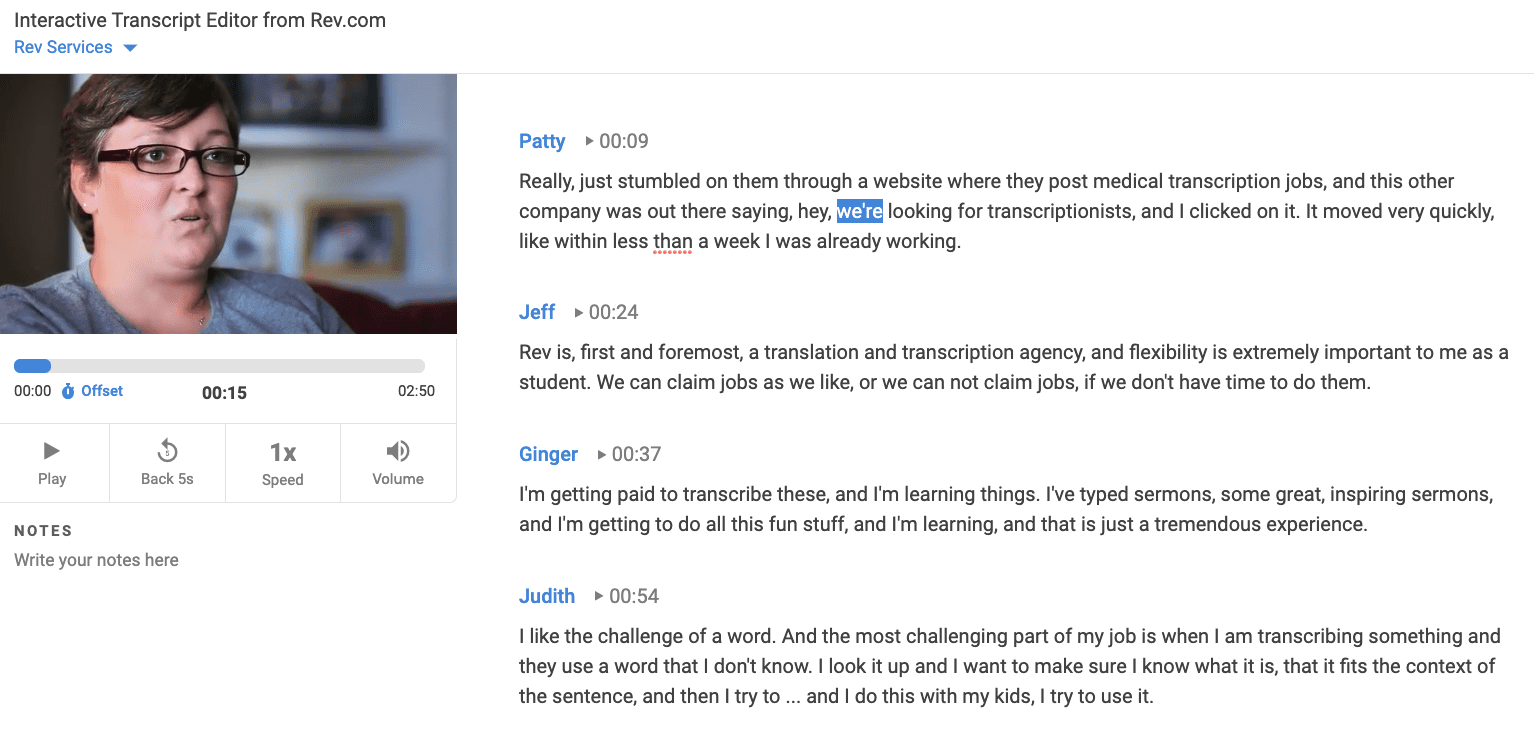
Click the ‘Review and Edit Transcript’ button to go to your Rev account, where you can review the transcript alongside the recording.

You may want to give the transcript a quick read through to catch and fix any glaring errors. For a more thorough review, play the recording back and follow along with the transcript to verify accuracy. You can edit, highlight, strikethrough, and add notes within the transcript and even share it with other reviewers. After you’ve finished reviewing, you can export the finished transcript in Word, PDF, or .txt formats.
Recording and transcribing Zoom calls and meetings can easily become one of your time-saving processes. Transcripts provide a low-cost, convenient way to ensure accuracy when documentation is essential. By getting your audio and video files transcribed by Rev for only $1 per minute, you can free up your time to work on other high-value tasks.
How to Record a Zoom Meeting or Conference Call
Recording calls and meetings with Zoom is easy and only requires a few steps.
Note: Only the host can enable recording or give a participant recording privileges.
To Start Recording Before Enabling Screen Sharing:
1. Once you’ve joined the meeting, click the ‘Record’ icon from the bottom menu.

2. That’s it! Your meeting is now recording.
3. To stop or pause the recording, click the appropriate button.

To Start Recording After Enabling Screen Sharing:
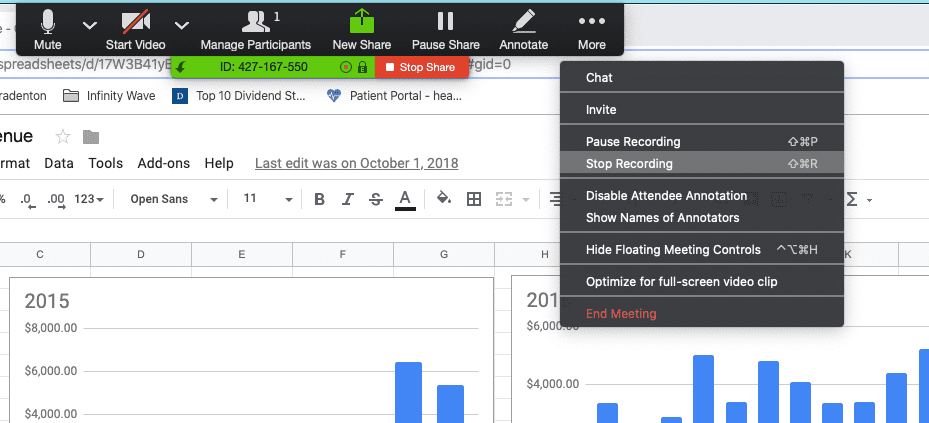
1. After you’ve joined the meeting, click the ‘More’ option in the meeting controls menu. Then select ‘Record’ from the drop-down menu.

2. To pause or stop recording, click ‘More’ and choose your selection from the drop-down menu.

Recording Zoom meetings and calls can be a great way to save them for future reference. After you finish your recording, Zoom saves an mp4 file to your computer (or it will be a cloud recording if you have that feature enabled).
Reviewing them can be tedious, especially if you need to transcribe the recording. Luckily, you can get quick and accurate Zoom audio transcripts easily.
Rev Real-time Transcription App (+Post Meeting Transcripts) & Live Captioning
Real-Time Transcription
Rev also offers live transcription for Zoom meetings through the Rev Meeting Assistant app for Zoom. Try it now and get live transcripts right in Zoom, powered by the most accurate speech recognition engine in the world.
Live Captions
Want to add live captions or real-time transcription directly to your Zoom meetings and calls? Rev just unveiled a new service for Zoom live captions, which uses our advanced world-class speech recognition technology.
Subscribe to The Rev Blog
Sign up to get Rev content delivered straight to your inbox.


